Before / After Widget
Before / After Widget
Effective Date: February 1, 2026
Last Updated: February 1, 2026
Definition
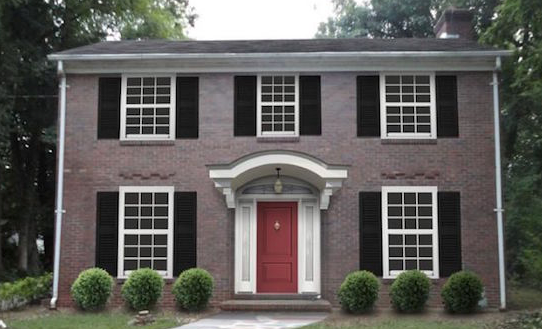
The Before/After widget displays two images in a slider for side-by-side visual comparison. It’s most effective for showcasing clear transformations (e.g., lawn care, roofing, remodeling).
Best Use Cases
- Home services or contractors showing project results.
- Side-by-side transformations that highlight quality of work.
- Any scenario where a simple visual comparison strengthens credibility.
Limitations
- Avoid if images are taken from different angles, distances, or lighting conditions — mismatches will distract rather than impress.
- Avoid if images already contain “Before” / “After” text or other embedded labels (creates visual clutter).
- Not recommended if one or both images are low resolution or heavily pixelated.
Setup & Naming Conventions
- Add the widget from Widgets → Before & After, then drag onto the page.
- In the Content Editor:
- Click + Image to upload/select your before and after images.
- Always place “Before” on the left and “After” on the right.
- For multiple sets, use a simple naming convention (e.g., before-01/after-01, before-02/after-02, etc.) for organizational clarity.
- Add alt text for each image (e.g., “residential roof replacement – before” / “residential roof replacement – after”). AI alt text may be used but should be refined if needed.

- In the Design Editor:
- Customize images under Images & Slider.
- Ensure displayed size never exceeds the actual image resolution.
- Keep before and after images the same size (avoid distortion).
- Labels: Use default “Before” and “After” labels unless otherwise instructed. You may hide labels if not needed.
Key Notes
- If images are well-matched and free of embedded text, designers are free to use this widget to create engaging, interactive comparisons.
- When used correctly, this widget provides strong proof of work and supports lead conversion.